Introduction: Why Migrate from AEM to WordPress?
Migrating from Adobe Experience Manager (AEM) to WordPress is a strategic decision for enterprises looking for a cost-effective, flexible, and user-friendly CMS alternative. WordPress has evolved into a powerful platform that supports enterprise solutions, offering robust custom development, security, and scalability. Whether you need a WordPress plugin to enhance functionality, a tailored WordPress theme for branding, this guide covers everything you need to know about an AEM to WordPress transition, including best practices, challenges, and the steps involved.
AEM vs. WordPress: A Quick Comparison
| Feature | Adobe Experience Manager (AEM) | WordPress |
| Cost | High licensing & maintenance fees | Open-source, lower costs |
| Ease of Use | Complex, requires technical expertise | User-friendly, no coding required |
| Customization | Limited without extensive development | Highly customizable with themes & plugins |
| Scalability | Scalable but costly | Scalable with the right hosting |
| Community & Support | Enterprise-level support | Large open-source community support |
Key Benefits of Migrating to WordPress
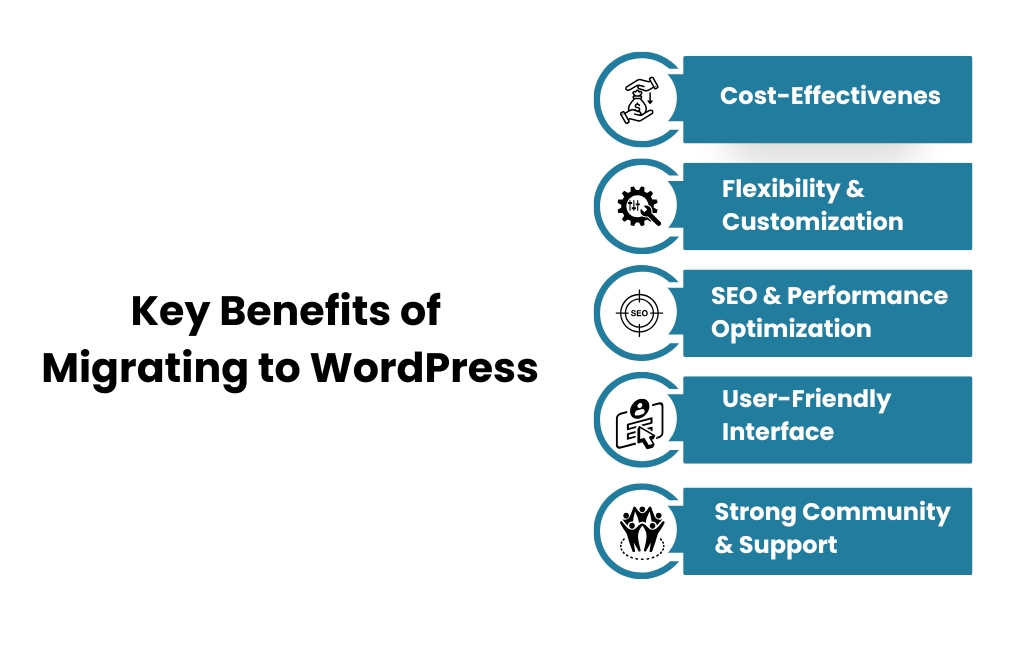
1. Cost-Effectiveness
AEM’s licensing costs can be prohibitive, whereas WordPress is open-source, reducing expenses significantly. Enterprise WordPress solutions provide cost-effective alternatives with robust features.
2. Flexibility & Customization
With WordPress custom development, businesses can tailor their websites with custom themes, plugins, and integrations, which are limited in AEM without costly development work.
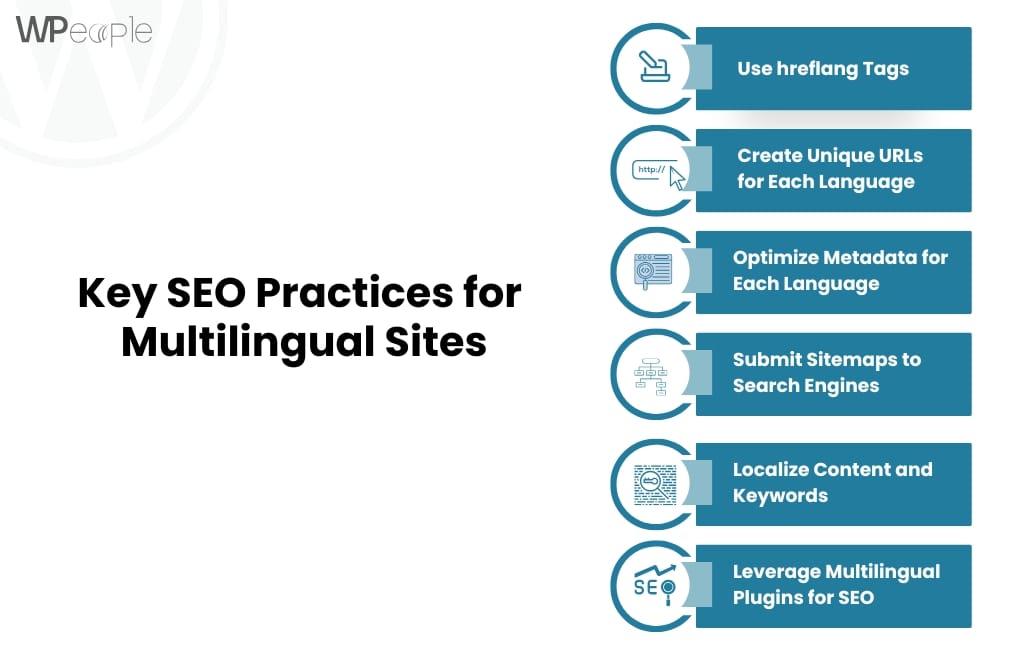
3. SEO & Performance Optimization
WordPress offers better SEO capabilities through plugins like Yoast SEO, improving search visibility compared to AEM’s built-in features.
4. User-Friendly Interface
WordPress’s intuitive dashboard allows non-technical users to manage content efficiently, unlike AEM’s steep learning curve.
5. Strong Community & Support
With a vast global community and enterprise support services, WordPress provides extensive resources for troubleshooting and enhancements.
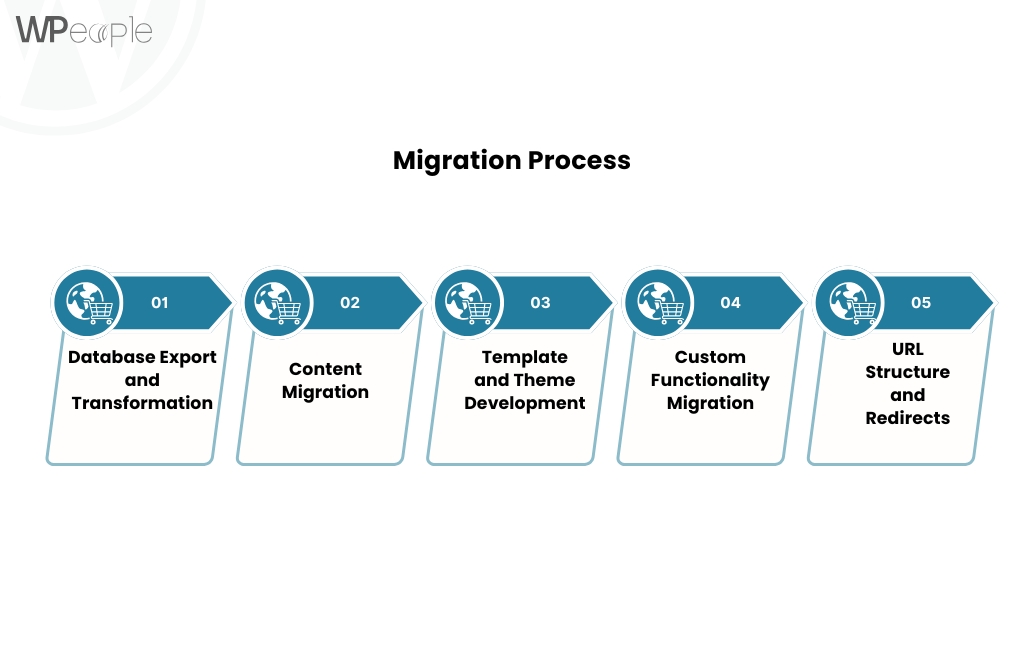
Step-by-Step WordPress Migration Guide
Migrating from AEM to WordPress requires a structured approach to ensure a seamless transition without data loss or performance issues. Below is a detailed breakdown of each step involved in the migration process:
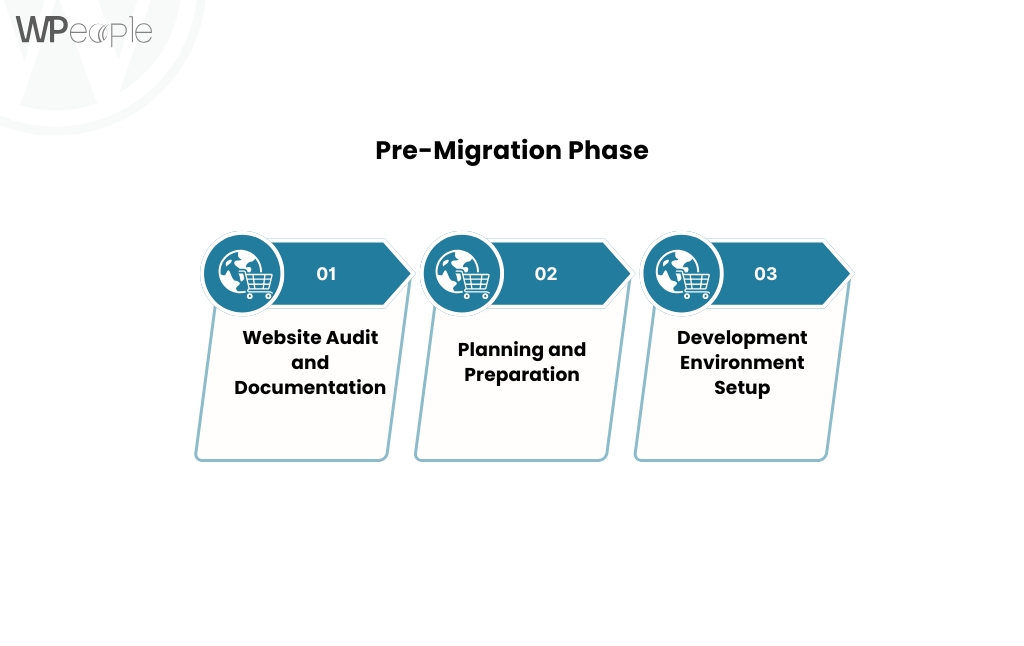
Step 1: Planning the Migration
The first and most crucial step is thorough planning. Start by assessing your current AEM website, identifying key components that need migration, including pages, media, metadata, and integrations. This phase also involves evaluating your business goals and determining whether you need custom WordPress development to replicate or enhance existing features. Additionally, selecting a reliable WordPress hosting provider is essential, ensuring that the new platform can handle your website’s traffic and performance requirements efficiently.
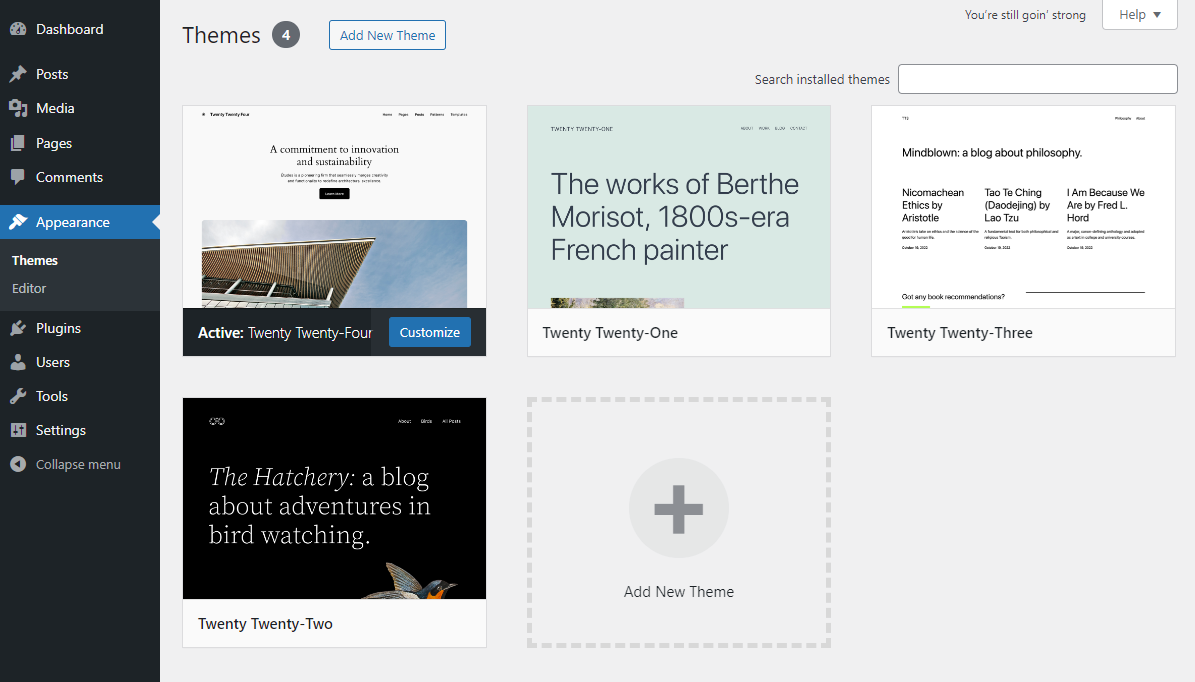
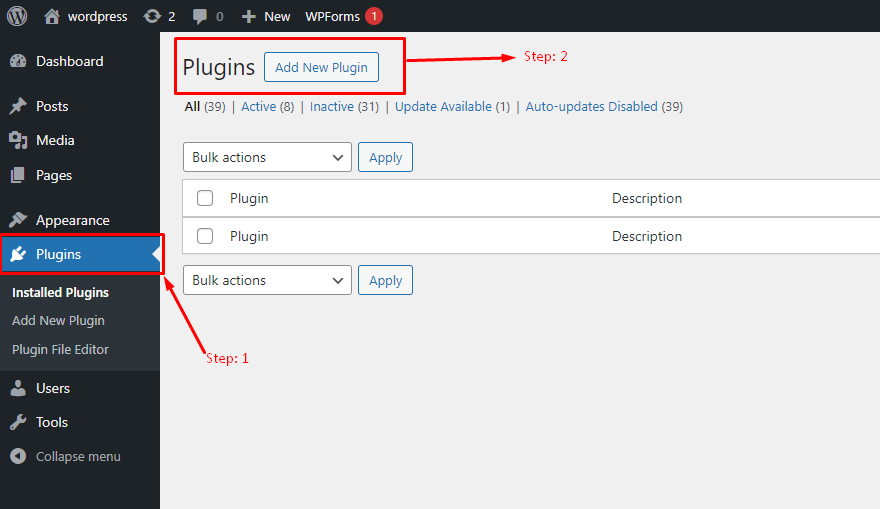
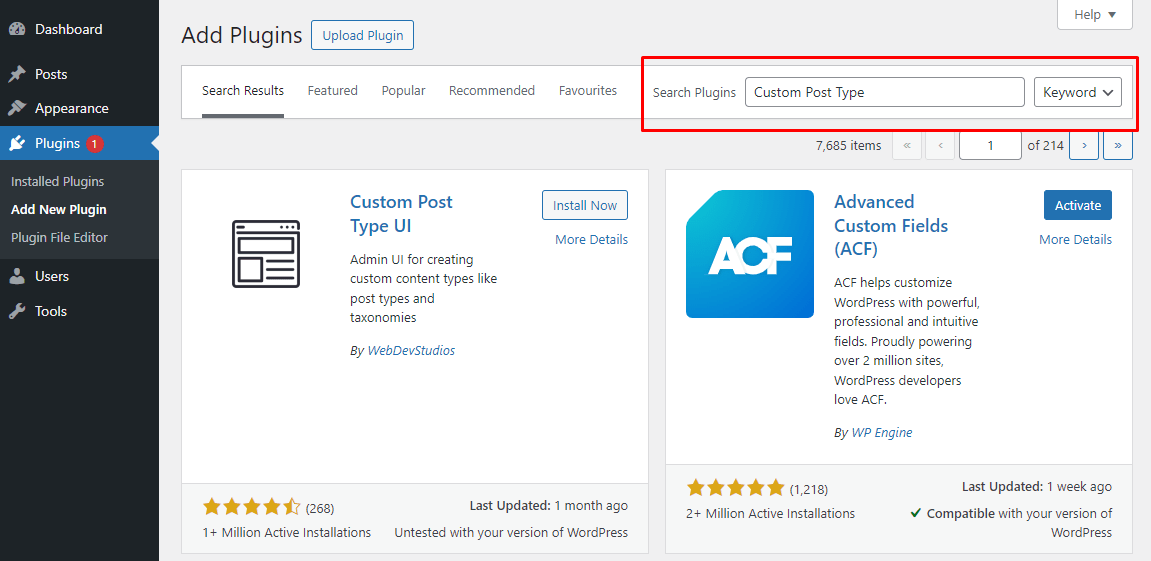
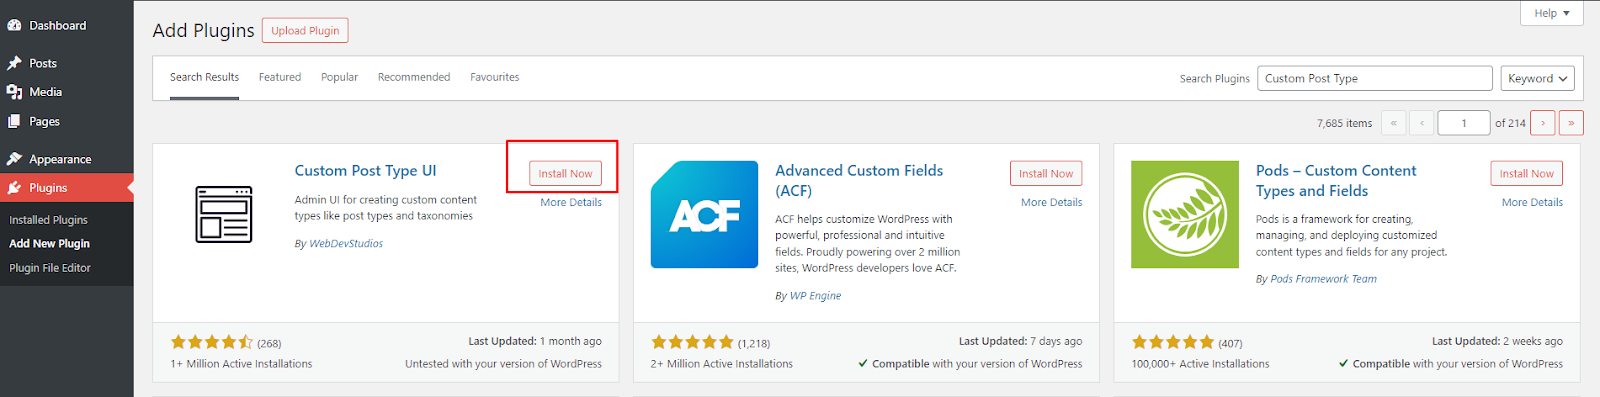
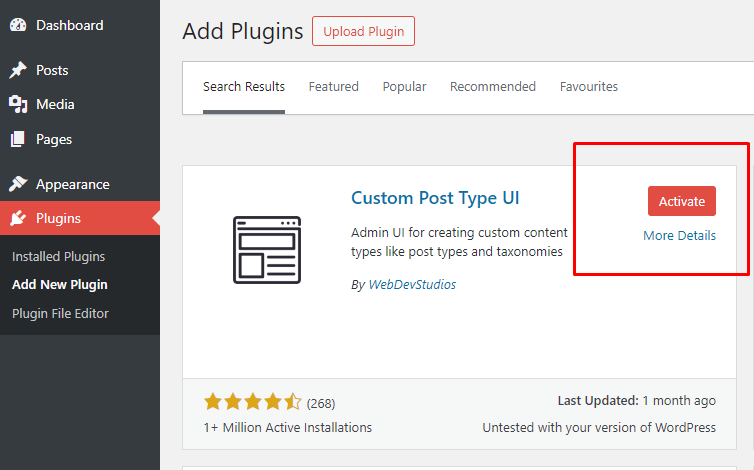
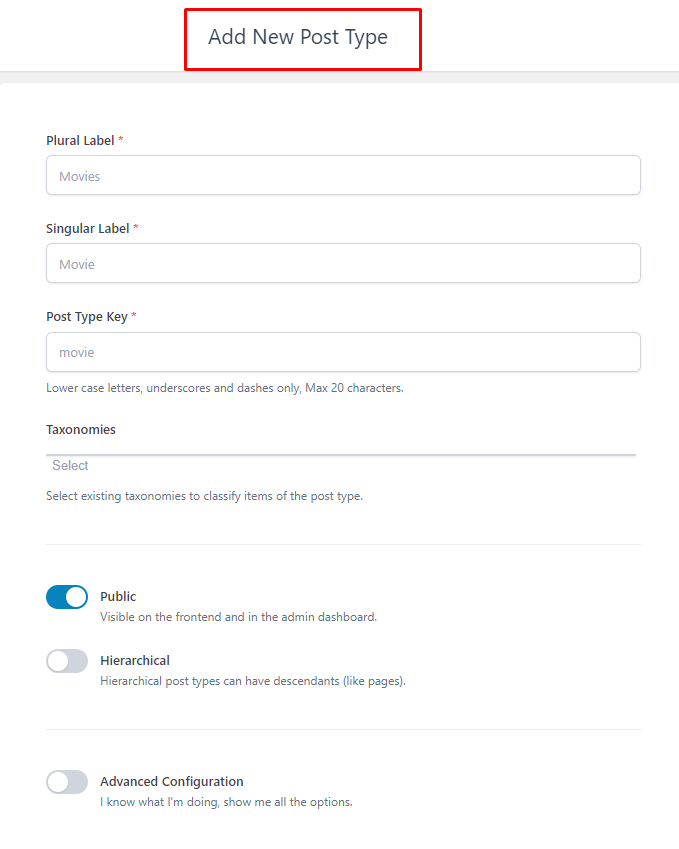
Step 2: Set Up a WordPress Environment
Once planning is complete, the next step is setting up a WordPress environment. Install the latest version of WordPress and configure essential settings. Choose an enterprise-grade theme that aligns with your branding and functionality needs. Security should be a top priority, so install necessary security plugins, configure SSL certificates, and establish role-based access for content managers. If your enterprise requires advanced customization, you may need WordPress developers to build tailored solutions.
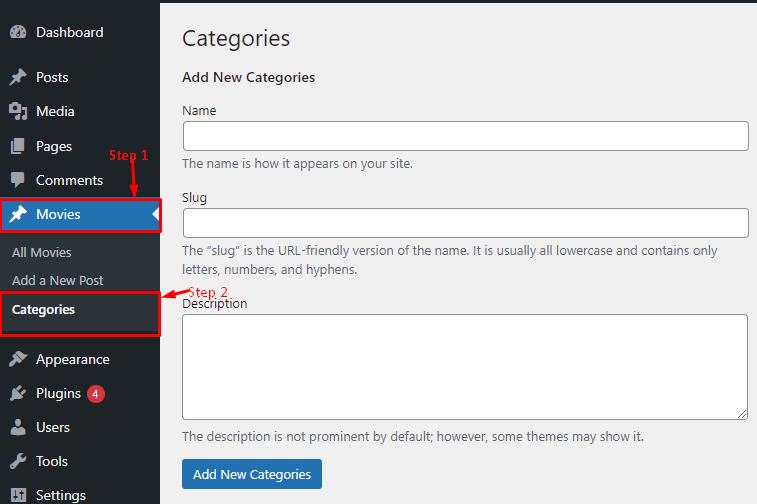
Step 3: Content & Data Migration
Content migration involves transferring text, images, videos, and metadata from AEM to WordPress. There are automated migration tools that can streamline this process, but manual verification is still necessary to ensure all content appears correctly. URL structures may differ between the platforms, so proper 301 redirects should be implemented to preserve SEO rankings. Additionally, any interactive elements, forms, or custom scripts should be tested and rebuilt as needed to ensure functionality within the new WordPress environment.
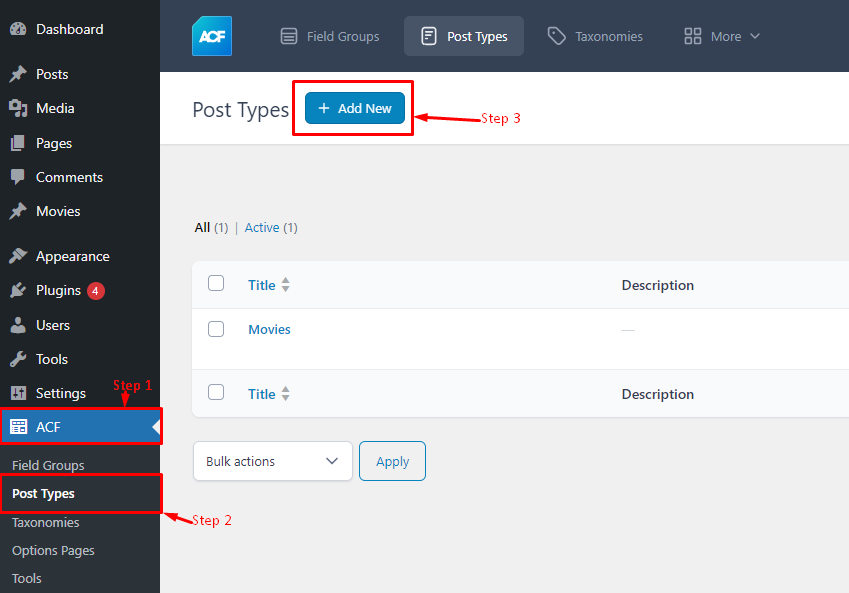
Step 4: Custom Development & Testing
WordPress allows for extensive customization, making it easy to replicate or enhance AEM’s features. Work with developers to build or modify custom functionalities, such as dynamic content modules, integrations with third-party software, and personalized user experiences. After implementing these features, conduct rigorous testing, including user acceptance testing (UAT) and performance testing, to ensure compatibility across devices and browsers. Optimize website speed, improve database efficiency, and resolve any issues before proceeding to deployment.
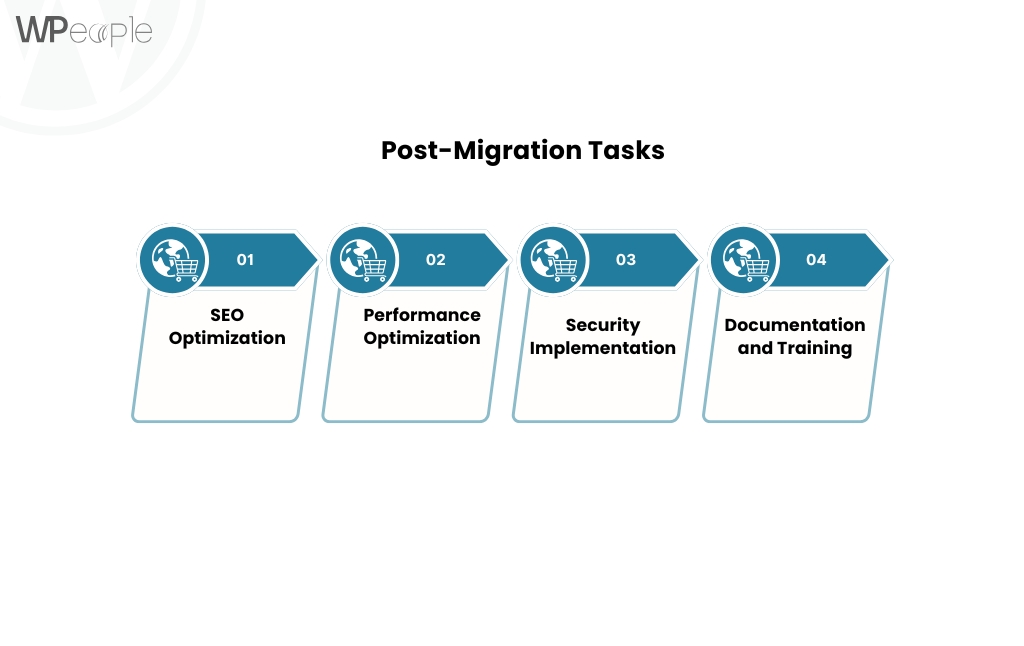
Step 5: Deployment & Post-Migration Optimization
Once testing is complete, it’s time to launch your WordPress site. The deployment process should be carefully managed to minimize downtime and ensure a smooth transition for users. After the site goes live, monitor performance closely using analytics tools. Track SEO rankings, traffic, and user engagement to identify areas for further optimization. Ongoing maintenance, WordPress security, and WordPress maintenance should be part of your post-migration strategy to ensure long-term success.
Common AEM Migration Challenges & Solutions
| Challenge | Solution |
| Data structure differences | Use automated migration tools or professional migration services |
| SEO impact | Implement 301 redirects and optimize content for SEO |
| Security concerns | Use enterprise-level security plugins and best practices |
| Custom functionalities | Leverage WordPress custom development for tailored features |
| User training | Provide WordPress training sessions for content managers |
FAQs About AEM to WordPress Migration
1. How long does it take to migrate from AEM to WordPress?
The timeline varies depending on the complexity of the website, typically ranging from a few weeks to a few months.
2. Will I lose my SEO rankings during migration?
If best practices like 301 redirects, metadata migration, and on-page optimization are followed, SEO impact can be minimized or even improved.
3. Can WordPress handle enterprise-level websites?
Yes, with proper hosting, security measures, and custom development, WordPress is a viable CMS for enterprise websites.
4. What are the costs involved in migration?
Costs include development, hosting, security, and potential plugin purchases but remain significantly lower than AEM’s licensing and maintenance fees.
5. Is WordPress secure for large-scale businesses?
With the right security plugins, regular updates, and best practices, WordPress can be as secure as any enterprise CMS.
Conclusion: Make the Right Move for Your Business
Migrating from AEM to WordPress provides a cost-effective, flexible, and scalable solution for enterprise websites. By implementing the right strategy, you can achieve a seamless transition while enhancing SEO, performance, and user experience. If you’re planning to switch, investing in custom WordPress development or consulting a migration expert can help ensure a smooth and efficient process.