When it comes to web performance, large image files can drastically slow down your site, leading to longer load times and higher bounce rates. But compromising on image quality isn’t the answer either. In this article, we’ll explore practical strategies to optimize your images for faster performance without sacrificing visual appeal. Read on to discover the best techniques and tools to strike the perfect balance.
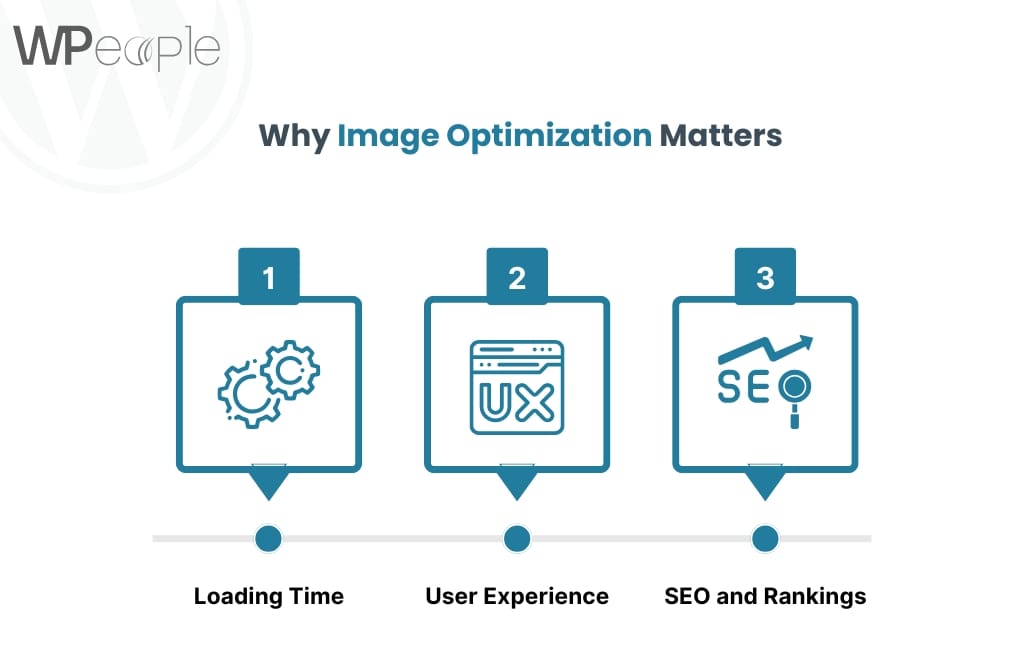
Why Image Optimization Matters

Optimizing images isn’t just a technical chore; it’s essential for delivering a fast, enjoyable experience on your website. Here’s why:
1. Loading Times: Large images can drastically slow down page load speeds, causing visitors to leave before the site even loads.
2. User Experience: Faster sites tend to engage users better, reducing bounce rates.
3. SEO and Rankings: Google values speed, and image optimization is a critical part of achieving a quick, efficient website.
Understanding Image File Formats
Selecting the right file format is foundational to image optimization. Each format has its strengths and weaknesses:
JPEG: Great for photographs and complex images, JPEG balances quality and file size well.
PNG: Best for images with transparent backgrounds or sharp edges.
GIF: Used mainly for simple animations and graphics with a limited color palette.
WebP: A modern format that offers superior compression while maintaining quality.
Choosing the Right File Format for Your Needs
Choosing between JPEG, PNG, GIF, and WebP can be confusing. Generally:
- JPEG is best for photos.
- PNG is ideal for logos and icons with transparency.
- GIF works well for simple animations.
- WebP is recommended for most purposes when browser support is available, as it provides great quality at a smaller size.
Compressing Images Without Sacrificing Quality
Compression is the key to reducing file size. Here’s a quick rundown:
1. Lossless Compression: Retains all data, ensuring no quality loss. Tools like PNGGauntlet work well for this.
2. Lossy Compression: Reduces file size more aggressively by removing some data, though this may slightly affect quality. JPEG-Optimizer and TinyPNG are good for lossy compression.
Resizing Images for Web Use
Size matters! Resizing images to the correct dimensions for web use is crucial. For most websites, width should not exceed 1200 pixels for full-width images.
Steps to Resize Efficiently:
– Identify the display size required on your website.
– Use a tool like Photoshop or GIMP to resize the image before uploading.
Using Responsive Images for Better Performance
With responsive images, your site displays different image sizes for different devices. This keeps images sharp without wasting bandwidth on mobile users. Use HTML’s `srcset` attribute to define multiple image sizes.
Leverage Image Caching for Faster Loading
Caching helps by storing images temporarily so they don’t have to be reloaded every time. Enable caching through your CMS or server settings, and set up browser caching for even faster access on repeat visits.
Implementing Lazy Loading to Boost Speed
Lazy loading delays the loading of images until they’re visible on the user’s screen. This is especially helpful on pages with lots of images, allowing the rest of the content to load first. Enable lazy loading with `loading=”lazy”` in the `img` tag.
Enhancing Images with CDN (Content Delivery Networks)
A CDN stores images in servers around the world, delivering them faster based on the user’s location. Popular CDNs include Cloudflare and Amazon CloudFront. They’re invaluable for delivering high-performance images globally.
Using Image Sprites to Optimize Performance
Sprites combine multiple images into one, reducing the number of server requests. Sprites are useful for icons or buttons that repeat across the site. Tools like CSS Sprite Generator can help you create these sprites easily.
Optimizing Images with CSS Techniques
Instead of images, try using CSS for effects like gradients and shadows. CSS backgrounds can also replace images in some cases, lowering the total image load and enhancing site performance.
Testing Image Performance
Measure your efforts with tools like Google PageSpeed Insights or GTMetrix. These tools provide insights on loading speeds and optimization suggestions specific to images. Adjust accordingly based on the report’s findings.
Common Mistakes to Avoid in Image Optimization
Here are some pitfalls to watch out for:
Over-compressing: Reduces quality to a point where images look poor.
Using high-resolution images unnecessarily: Takes up bandwidth with no visible improvement on most screens.
Neglecting caching: Missing out on performance gains from cached images.
Conclusion
Optimizing images is crucial for any website aiming to be user-friendly and competitive in SEO. With the right techniques, you can keep image quality high while enhancing load speeds. Small changes in image optimization make a big difference, creating a seamless experience for visitors and a more efficient site for you.
FAQs
1. How can I tell if an image is optimized?
Check with tools like Google PageSpeed, which can tell you if images are slowing down your site.
2. What’s the best format for web images?
For most purposes, WebP is ideal due to its balance between quality and size, but JPEG and PNG also work well depending on your needs.
3. How do I reduce image size without quality loss?
Use lossless compression tools like PNGGauntlet or TinyPNG for minimal quality reduction.
4. Are online tools as effective as desktop software?
Yes, online tools like TinyPNG and JPEG-Optimizer can be just as effective, especially for basic needs.
5. How often should I review my website’s image optimization?
Review optimization at least quarterly, especially if you regularly add new images to your site.
Consult with Our WordPress Experts On:
- WooCommerce Store
- Plugin Development
- Support & maintenance


